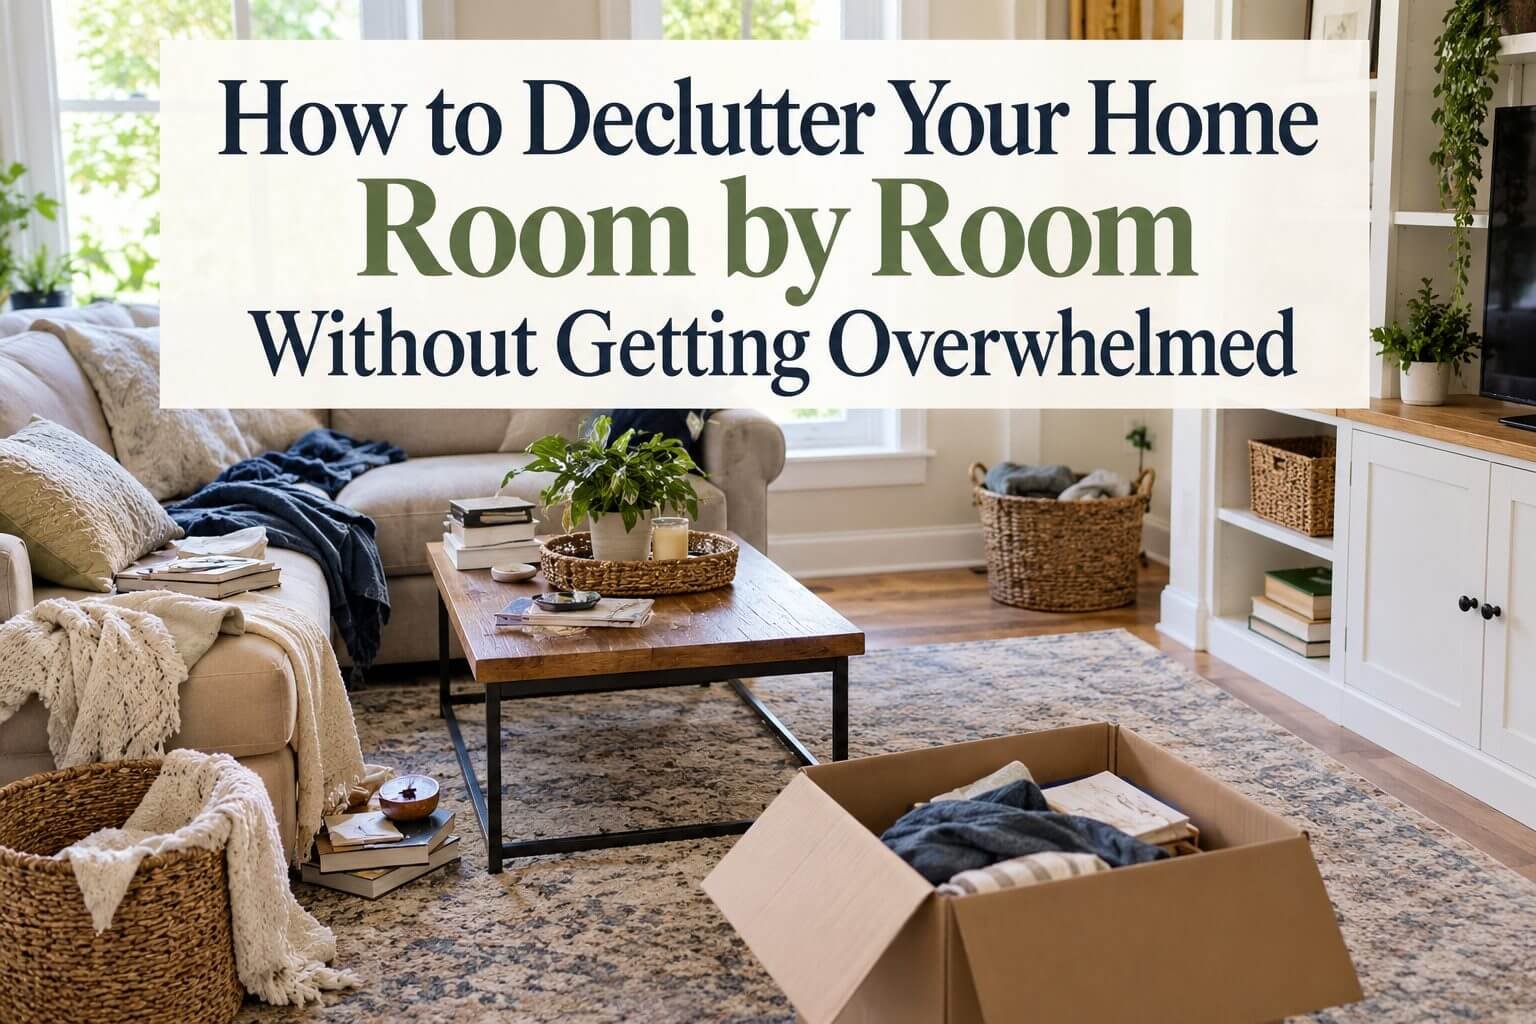
The easiest way to declutter your home room by room without getting overwhelmed is to focus on a single micro-zone—like one kitchen drawer or bathroom shelf—rather than an entire room at once. Begin by sorting through the easy decisions first, immediately tossing obvious trash and bagging items that clearly belong in other rooms to build momentum. Taking a realistic, step-by-step approach keeps your spaces functional and livable without requiring you to turn your entire house upside down in a single weekend.
Trying to declutter your home room by room sounds simple enough until you start looking around and realize there’s stuff everywhere. The kitchen counters are crowded, the closet is overflowing, there’s a pile you’ve been meaning to deal with for weeks—and suddenly you’re trying to figure out where to begin.
The good news is that you don’t need to declutter your entire house at once. In fact, trying to tackle everything at the same time is one of the easiest ways to get overwhelmed and give up halfway through.
A much more manageable approach is to declutter your home room by room, focusing on one space—and one decision—at a time. You’ll still make noticeable progress, but you won’t have to turn your whole house upside down to do it.
In this guide, we’ll work through the main areas of your home and focus on what’s actually worth tackling in each one. You don’t need a perfectly organized house by the end. The goal is simply to have less stuff competing for your space and attention than you did when you started.
And if even one whole room feels like too much right now, start smaller. My guide on how to organize your home when everything feels overwhelming can help you choose a manageable first step before you begin.
Before You Start: Choose One Room
Before you grab a trash bag and start pulling everything out of closets, decide where you’re going to work first.
Pick one room—not the whole house. Better yet, if that room feels like too much, choose one smaller area inside it. That might be one kitchen cabinet, the bathroom counter, your nightstand, or the floor of the entryway.
The goal isn’t to find the messiest room and conquer it in one afternoon. Start somewhere you can actually make noticeable progress without exhausting yourself.
Once you’ve chosen your space, stay there. It’s easy to carry something into another room, notice a mess there, and suddenly find yourself working on three different areas at once. For now, anything that belongs somewhere else can go into a basket or box to be put away later.
Finishing one small area gives you something much more useful than a half-decluttered house: a visible win and a clear place to continue from.
Start With the Easy Decisions
Once you’ve picked your starting point, don’t begin with the things that require a lot of thought. Start with the decisions you can make quickly.
Look for obvious trash, empty packaging, expired items, things that are broken, and anything you already know you don’t use or want anymore. You can also pull out items that clearly belong somewhere else in the house and place them in the basket or box you set aside.
Don’t stop to debate every questionable item yet. If you pick something up and immediately start thinking, “Well, maybe I’ll need this someday…” leave it for the second pass.
Clearing out the obvious clutter first gives you more room to work and lets you see what’s actually left. It also builds momentum without forcing you to make a hundred difficult decisions right at the beginning.
Once the easy stuff is gone, you’ll be in a much better position to decide what deserves to stay in the space.
Decluttering the Kitchen
The kitchen is one of the easiest places for clutter to build up because so many different things have to fit into one room. Food, dishes, small appliances, cooking tools, cleaning supplies, and everyday paperwork can all compete for the same limited space.
Start with the areas you use most often. Clear the countertops of anything that doesn’t need to stay there, then move through one drawer, cabinet, or shelf at a time. Look for duplicate utensils, food-storage containers without matching lids, expired food, chipped dishes, and appliances you rarely use.
You don’t need to empty every cabinet onto the floor to make progress. If one cabinet takes 20 minutes and works better when you’re finished, that counts.
As you decide what stays, think about how often you actually use it. Everyday items should be easy to reach. Things you use occasionally can go higher up or farther back, while items you never use may not need to take up kitchen space at all.
If limited storage is part of the problem, my guide to organizing a small kitchen without spending a fortune has more ideas for making better use of cabinets, drawers, shelves, and countertops.
Decluttering the Living Room
Living rooms tend to collect things from everywhere else in the house. Mail lands on the coffee table, shoes get left by the door, blankets pile up on the sofa, and items that don’t have a permanent home end up sitting on whatever surface is available.
Start with the visible surfaces. Clear the coffee table, end tables, entertainment area, and any shelves that have become catch-all spaces. Put away anything that already has a home, and remove things that don’t belong in the room.
Next, look at what you’re actually storing there. Go through books, magazines, décor, games, electronics, blankets, and anything tucked into baskets or cabinets. Keep the things your household uses or genuinely wants in the room rather than filling storage simply because the space is available.
Pay particular attention to items that have been sitting out because they don’t have a designated place. Those are often the things that make a room feel cluttered again soon after you clean it. Decide where they should live—or whether you need to keep them at all.
When you’re finished, the goal isn’t an empty living room. It should still look and feel like a space people actually use, just without unnecessary items taking over the surfaces and storage.
Decluttering the Bedroom
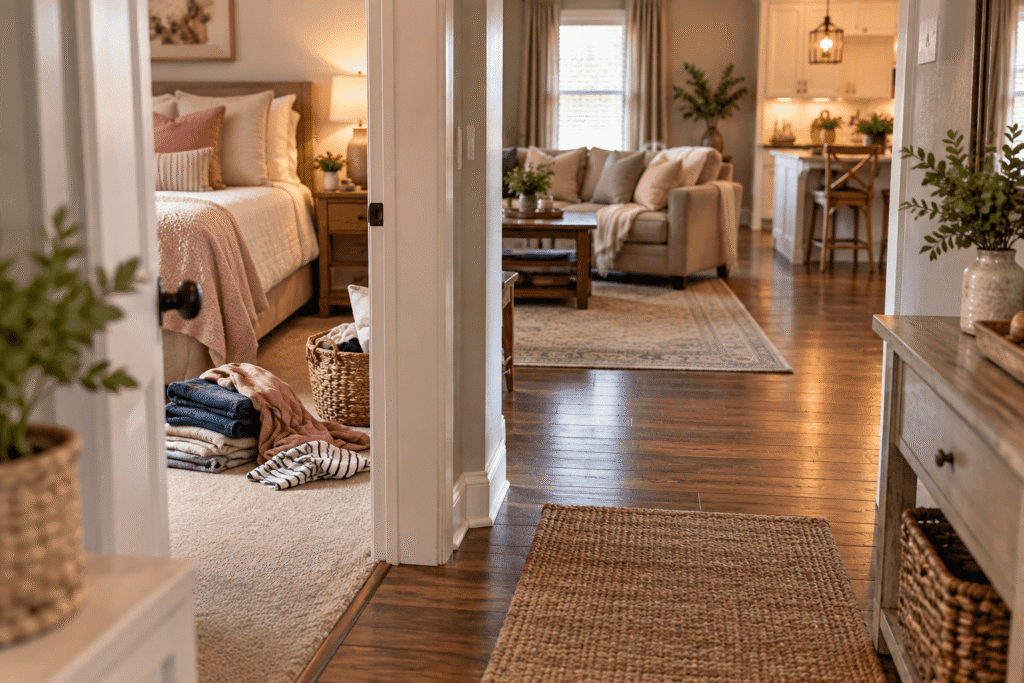
Bedrooms can become holding areas for things we don’t know what to do with. Clothes collect on chairs, nightstands fill up, and items that need to be put away can sit in the same spot long enough that we stop noticing them.
Start with the surfaces you see every day. Clear the nightstands, dresser, and any chairs or benches that have become drop zones. Put away what belongs in the room and move anything that belongs somewhere else into your temporary basket or box.
Then tackle clothing in smaller sections instead of pulling everything out of the closet at once. Start with one dresser drawer, one section of hanging clothes, or one category such as shoes. Set aside anything that no longer fits, is damaged beyond repair, or simply isn’t something you wear anymore.
Don’t forget the spaces that are easy to ignore. Check under the bed, the top of the dresser, and any baskets or storage containers where miscellaneous items tend to accumulate.
The bedroom doesn’t need to be perfectly minimal. The goal is to remove enough excess that the things you actually use are easier to find, put away, and maintain.
Decluttering the Bathroom
Bathrooms may be small, but they can hold a surprising amount of stuff. Toiletries, makeup, medications, hair products, towels, cleaning supplies, and half-used products can quickly fill drawers and cabinets.
Start with the easiest things to remove. Throw away empty containers and products that are expired, dried out, or no longer usable. For medications, follow the disposal instructions on the label or use an appropriate medication take-back option rather than automatically throwing them in the trash.
Next, look for duplicates and products you bought but never use. You don’t need five partially used bottles of the same type of product taking up space simply because there’s still something left in them.
Work through one drawer, cabinet, shelf, or area under the sink at a time. Group similar items together so you can see what you actually have before deciding how to organize what remains.
Keep the products you use regularly in the easiest-to-reach places. Less frequently used items can go farther back or higher up. The goal is to make your everyday bathroom items easy to find without digging through everything else first.
Decluttering Closets and Entryways
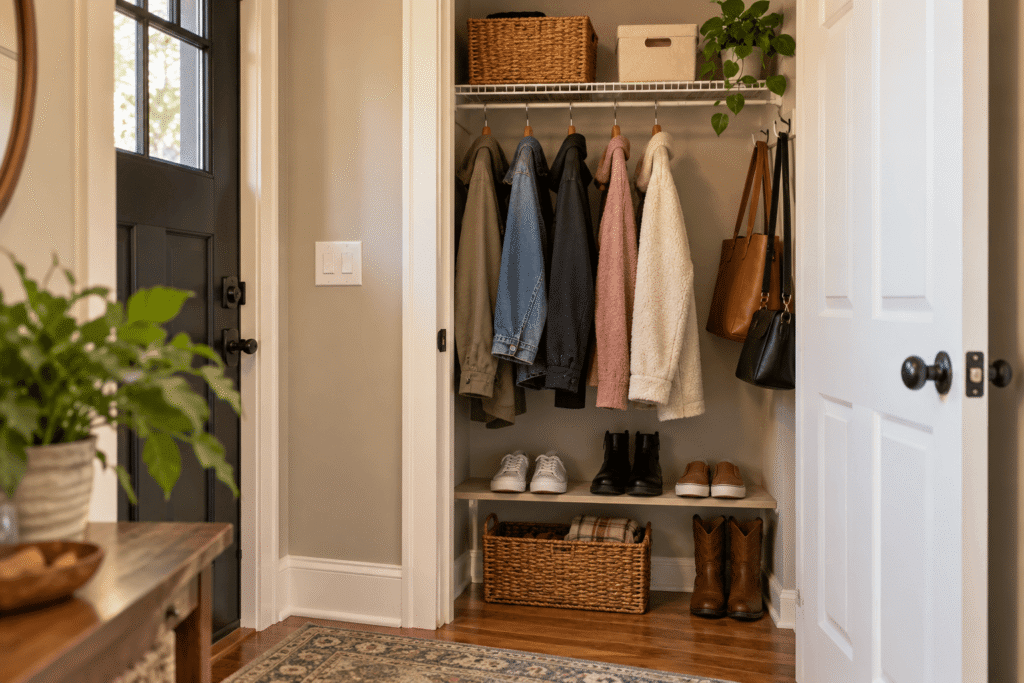
Closets and entryways often end up storing more than they were meant to. Coats, shoes, bags, seasonal items, cleaning supplies, and things waiting to be put away can quickly make these areas difficult to use. If you are frequently dealing with items that pile up near the door, you can create an easy DIY entryway drop zone on a budget using simple hooks and small storage baskets.
Start with what you can see and reach easily. Remove shoes that are worn out or no longer fit, coats and jackets that aren’t being worn, and bags or accessories you no longer use.
In a closet, work through one section at a time rather than emptying everything at once. Check shelves, the floor, hanging items, and anything stored in boxes or bins. If you find things you forgot you owned, consider whether they still deserve the storage space they’re taking up.
For the entryway, focus on what your household actually needs when coming and going. Frequently used shoes, coats, bags, and keys should have an easy-to-reach place. Items that are out of season or rarely used can be stored somewhere less accessible.
Once you’ve removed what doesn’t belong, you may find that you already have enough storage. Decluttering first also keeps you from buying organizers for things you ultimately don’t need to keep.
What to Do With the Things You’re Getting Rid Of
Decluttering isn’t finished if everything you removed from a room ends up sitting in bags or boxes somewhere else in the house. Decide what will happen to those items while you’re working so they don’t become a new pile of clutter.
Separate what you’re removing into a few basic categories: donate, sell, recycle, and trash. You don’t need an elaborate sorting system—just enough to know where everything is going.
Be realistic about items you plan to sell. If something is worth selling and you’re willing to photograph it, list it, answer questions, and arrange shipping or pickup, set it aside. If not, donating it may get it out of your home much faster.
Give yourself a deadline for donations and items you plan to sell. Bags intended for donation can easily sit by the door for weeks, while a box of things you’re “going to list” can turn into permanent storage.
The goal is to actually move unwanted items out of your home, not simply move them from one room to another.
How to Keep Clutter From Building Up Again
Once you’ve decluttered a space, keeping it manageable is usually easier than starting over later. You don’t need a complicated system or a long list of daily tasks. The biggest difference comes from dealing with things before they have a chance to pile up.
When you bring something new into your home, think about where it will go and whether it’s replacing something you already own. If there isn’t a reasonable place for it, that may be a sign that something else needs to go.
Pay attention to the areas where clutter repeatedly collects. If mail always piles up on the counter or shoes constantly end up by the door, the problem may not be that you need to try harder to stay organized. You may simply need a better place for those things.
It also helps to deal with small amounts of clutter when you notice them instead of waiting until an entire room needs attention again. Putting away a few items takes much less time than repeating a full decluttering project.
Your home will still get messy. That’s normal. The goal is to make it easier to bring the space back under control when it does.
People Frequently Ask
Where is the best place to start when decluttering a house?
Start with the smallest, highest-impact area that triggers daily frustration. This is usually a flat visual surface like your kitchen counter, bathroom vanity, or entryway drop zone.
How do you stay motivated to declutter when overwhelmed?
Set a strict 5-minute timer and promise yourself you can stop when it goes off. Breaking up projects into micro-tasks removes the pressure of finishing a whole room and helps you build natural momentum.
What should you not do when decluttering your home?
Never pull everything out of a closet or room all at once. This creates an immediate “messy middle” that causes severe decision fatigue, making it highly likely you will abandon the project halfway through.
Declutter Your Home Room by Room at Your Own Pace
You don’t have to declutter your home room by room in a single weekend. You might finish one room in a day, or you might work through one drawer, shelf, or cabinet whenever you have time.
What matters is that you keep moving forward without creating a bigger project than you can realistically handle. Start with one space, make the easy decisions first, and work through the rest at a pace that works for you.
As you remove what you no longer need, the things you choose to keep become easier to organize and easier to find. Over time, those smaller projects can make a noticeable difference throughout your home.
🎁Free Resource: Grab the Simple Home Organizing Checklist
Ready to clear the clutter without the pressure to be perfect? Download my FREE 6-page Simple Home Organizing Checklist to simplify your spaces at your own pace.
- Step-by-Step Checklists: Room-by-room breakdowns for realistic timelines.
- The Weekly Reset Guide: Quick habits to stop clutter before it builds up.
- Actionable Planners: Space to map out exactly what to tackle next.